

Introduction
Oracle Cloud Infrastructure (OCI) offers various services for building and deploying applications. Oracle Application Express (APEX) is a low-code development platform that enables you to build scalable, secure enterprise apps with ease. Combining the power of OCI with APEX provides a robust environment for developing and deploying applications. In this guide, we'll walk through the steps to create an OCI APEX Service.
Prerequisites
An Oracle Cloud Infrastructure account.
Access to the OCI Console with appropriate permissions.
Sign in to Oracle Cloud Console
Navigate to the Oracle Cloud Console at https://cloud.oracle.com and sign in with your credentials.
Navigate to Quickstart
Once logged in the OCI console page, navigate to the Quickstarts dashboard and select Deploy a low-code app on Autonomous Database using APEX.
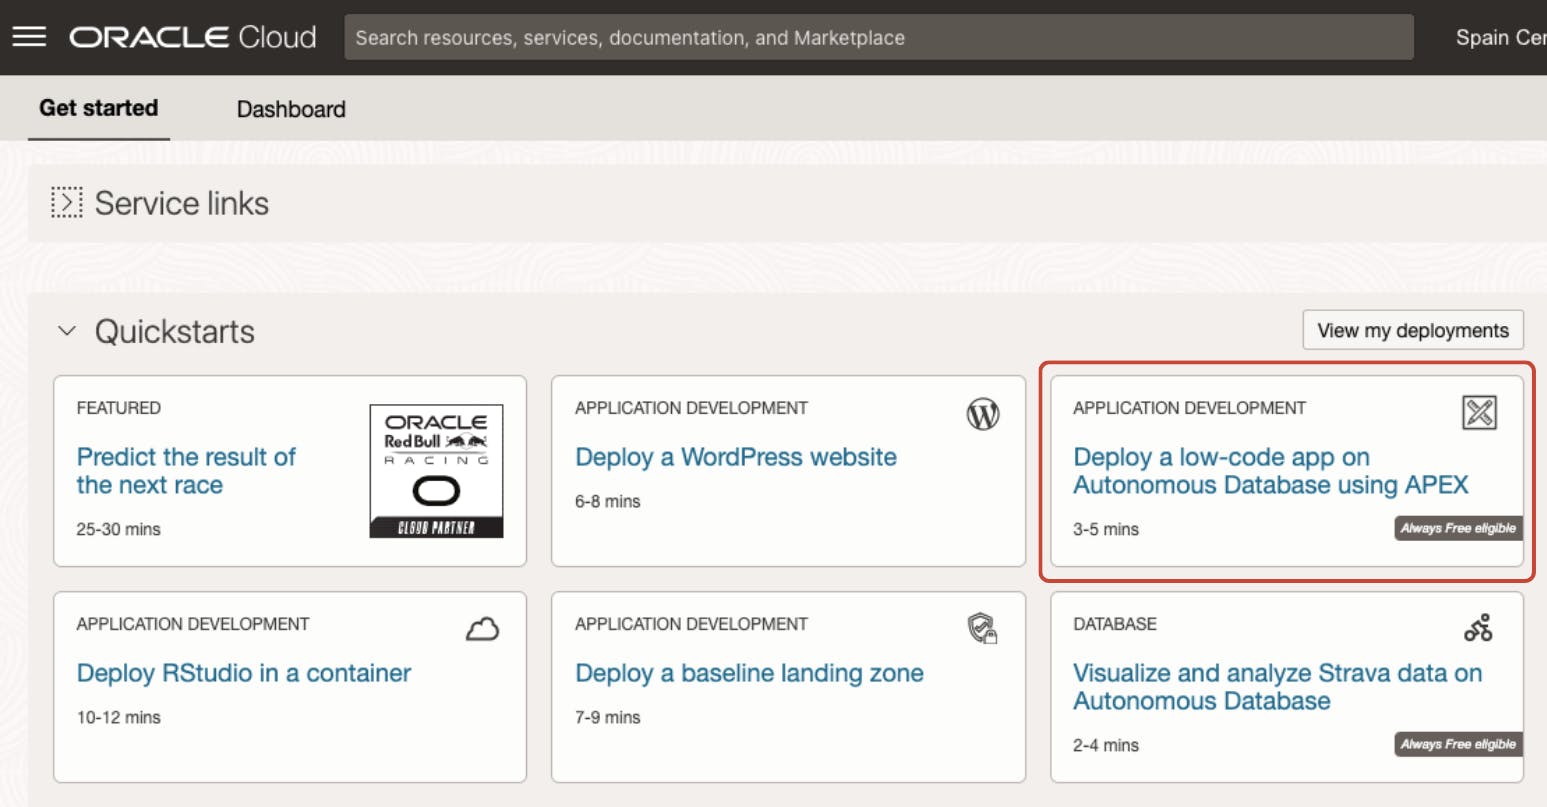
In the Quickstart launch window, you'll find a comprehensive outline detailing each step involved in deploying an APEX instance within OCI. Click on Continue button.

Select compartment and ADMIN password
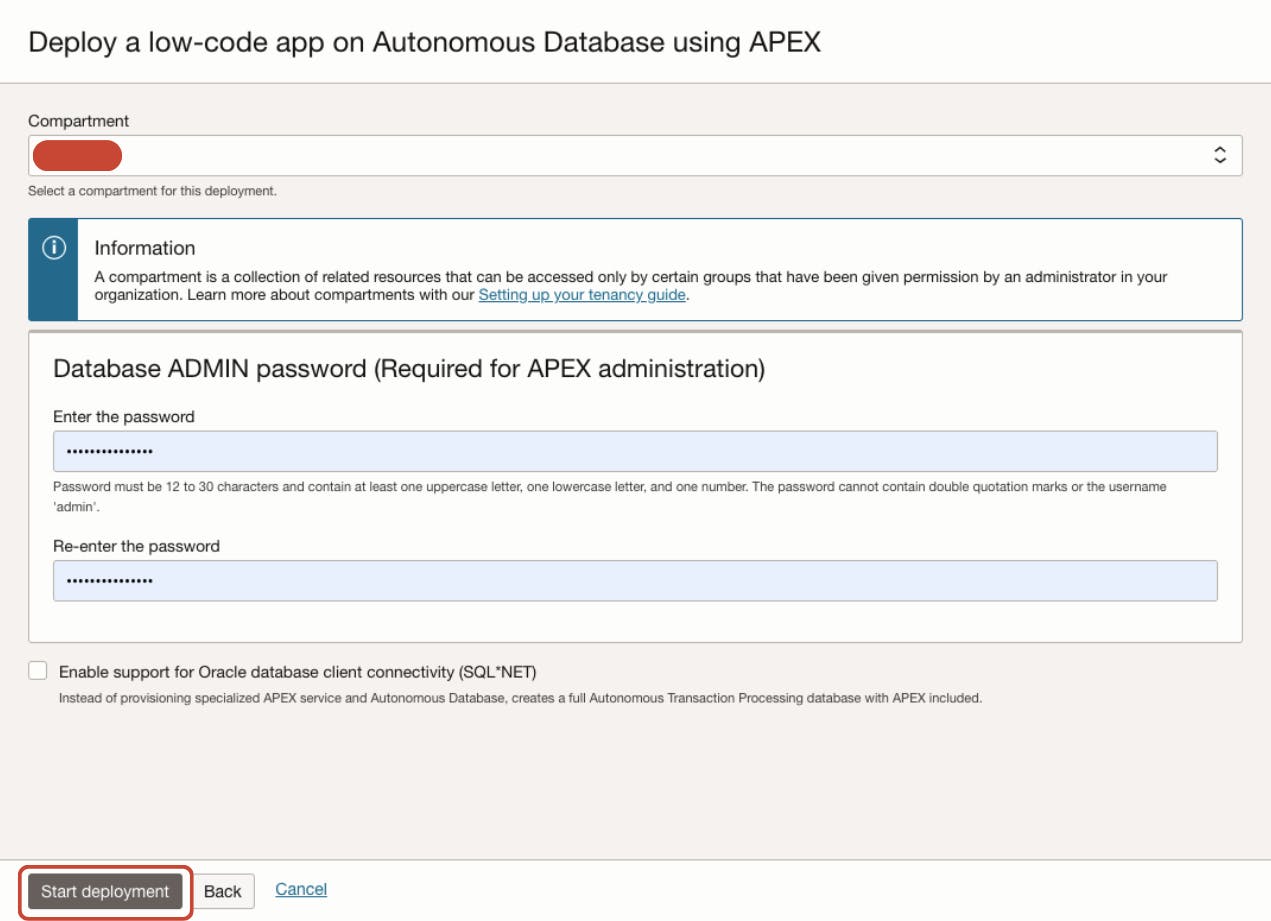
Choose a designated compartment for the deployment of your APEX instance.
Provide the password for the ADMIN database user. This password is essential for accessing APEX administration (admin Workspace) and services. Click Start deployment button to start the deployment process
Wait for deployment to complete
The status of the deployment can be monitored in this section. Kindly wait until the deployment is finished, as it may require a few minutes.

Upon finalising the deployment, the Launch APEX button will be displayed. Let's click on Close button first.

Access APEX Instances
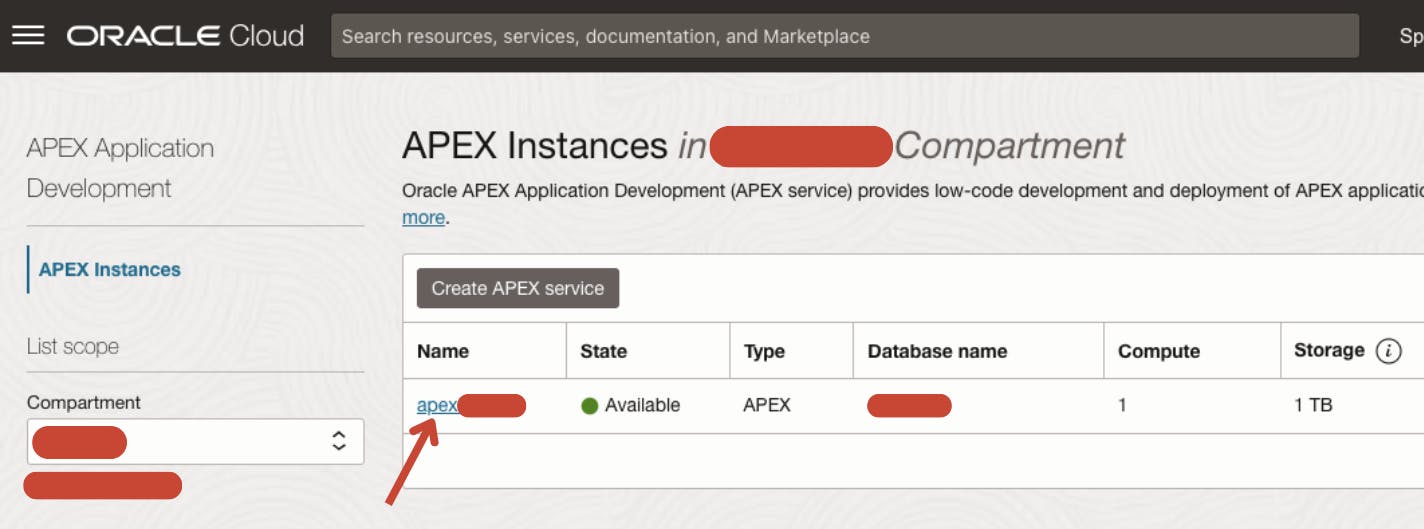
Navigate to the OCI Services Dashboard by clicking on the menu icon at the top-left corner and selecting Developer Services from the drop-down menu. Locate and select APEX instances under the APEX Application Development section.

The deployed APEX instance is listed there for the selected compartment, name apexXXXX (this is a default random name). Click on the instance name to access the APEX Instance Details page.
The APEX instance information is displayed. The provisioned Autonomous Database where the APEX instance is deployed can be found here, again named apexXXXX, along with its database name.

Launch APEX
Click on Launch APEX button to access APEX administrative services. Use the database ADMIN password set at the beginning of the steps to login.

Create Workspace
After entering the APEX admin interface, click on Create Workspace button. Follow the screens to either create a new database schema for the workspace or reuse an existing schema.
